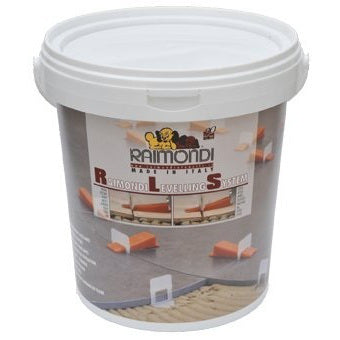
Skip to content
Free Shipping across NZ, Australia & Pacific for orders above $200 | BRANZ-Appraised Waterproofing & Tiling Systems – Technokolla, Fila Solutions & NAC | Free Shipping across NZ, Australia & Pacific for orders above $200

RAIMONDI S/L Starter Kit 100pz (old version)

Original price $133.70 - Original price $133.70
Original price
$133.70 incl. GST
$133.70 - $133.70
Current price $133.70 incl. GST

Overview

Raimondi RLS Leveling System Starter Kit ensures perfectly level tile installations for thin, large, or uneven tiles. Includes floor pliers, base clips, and wedges to speed adhesive setting and maintain precise tile alignment from installation to curing.


Need a hand? Contact us

Leveling System Starter Kit - Raimondi RLS

Raimondi Levelling System Starter Kit is a must for tiling professionals.

*Includes:

  • 1 x RAI-LSATPF - Traction Floor Pliers
  • 1 x RAI-LSBC100 - 100 x Base Clips
  • 1 x RAI-LSW100 - 100 Wedges

For proper setting, correct levelling of tiles is required.

It's not easy to set tiles that flex and are thin. Heavy and large tiles also pose problems due to floor foundations that are not even.

Because of this, even though the tiles looked perfect and level during installation, after the adhesive sets, oftentimes there is a different appearance of levels that change the "perfectness" of your tile floor installation soon after.

The Raimondi Levelling Starter Kit helps solve this issue.

Levelling spacers helps avoid this mess. They work by keeping the perfect level of tiles just installed. Not only that, but levelling spacers also makes the adhesives set faster.

So you get a FASTER setting & ensured PERFECT levelled tiles.

Clip Types (2 Versions):

  • 3mm - 12mm thick tiles (1/8” - 1/2”)
  • Large Clips for 12mm - 20mm thick tiles (1/2” - 3/4”). 
  • Wedge used on the two clips just as easily. The wedge will list you for a lifetime.
  • Position the levelling spacers
  • Remove them just as quick & easy... 

Setting The Support:

  • After the adhesive is spread, place the support under the tiles, along each of its four tile sides.
  • It will depend on the tile size, but you'll want to set 1 or more supports on each of the tile sides
  • Get tileset and then use a rubber mallet to beat it.

Inserting The Wedge:

  • Make sure not to pass the breakpoint - at this step, you need to place the wedge into the slot for support.
  • Recommendation: the special traction-adjustable-pliers will make this much easier and are recommended.

Removing The Support:

  • After the adhesive sets, separate the protruding part of the support to remove it.
  • This separates the base from the support and is necessary for removing it.
  • Again, the traction-adjustable-pliers, then a rubber mallet (if no mallet, your feet can also get the job done).
  • Make sure you beat parallel to the joint.

Downloads

At Surtec, we aim to make your experience as seamless as possible. Orders are processed efficiently through our Auckland branches and distributed nationwide via our growing logistics network. For any queries about delivery times, product availability, or returning an item, feel free to get in touch with our team. We're here to help you keep your projects moving.

You may also like